


All Bosses in Kirby and the Forgotten Land and How to Beat them Effectively

One of the most impressive things about Kirby and the Forgotten Land is the incredible list of bosses. Not only does the main story have bosses, but so does the Waddle Dee Town Coliseum. All of these bosses are big, bad, and fun, but some of you have voiced your disdain for some bosses, as you are having trouble defeating certain ones.
Well, I am here to help you with this! It is for certain that some of these baddies are tougher than others, but with the right prep and mindset, all of them are beatable in short time. With that out of the way, let’s get into this!
Gorimondo

Gorimondo is featured in the demo for Kirby and the Forgotten Land, so players should have gotten an understanding of this first boss before the game even came out. The strong-armed beast is not very difficult for all the right reasons, but as is the case with any boss in this list, equipping an appropriate ability makes things even easier.
For Gorimondo, the best ability is ice, so equip Ice or any of its upgrades and hammer the giant gorilla. Keep your distance at the appropriate times, but get between its legs and just blast that ice ability until the beast goes down.
Tropic Woods

Every Kirby games needs a tree boss, and Tropic Woods is no different! The unfriendly fronds has a nice mixture of attacks, but since it cannot move itself, all of the dodging is of the attacks coming your way.
Honestly, Tropic Woods is the easiest boss in the game, in my opinion, if you equip the fire ability or any of its updates. My first time battling Tropic Woods, I just naturally equipped Volcano Fire (the first upgrade), and I killed the tree so fast that I missed all of the secret missions except the time one.
Basically, blast away for the first part until it starts shooting vines around. The fire ability can burn the vines, and if you just maneuver from left to right depending on openings, you should be burning this tree down in no time.
Clawroline

Clawroline is not only a fun name to say but a very entertaining boss fight that actually has proper different sections. For the first part, Clawroline will stay on the group and try to take you out with its dagger claws. After it takes enough damage, it will start jumping up high and waiting for the moment to pounce on you.
Because of that second section, the ranger ability is ideal, although the sword is a solid second. The ranger ability and its upgrades do some great damage, but the highlight for this boss fight is sniping Clawroline in the second phase when she’s up high. Not only does this do great damage, but it is also one of the secret missions within the stage.
If you decide to go the sword route, just keep your distance and wait for the right moments to strike. This is especially important in the second phase, as the pounce hurts Kirby a lot, so dodge the pounce, strike with the sword, retreat, rinse & repeat. This is not a super-hard fight, but with these tips, it should be even easier.
King Dedede
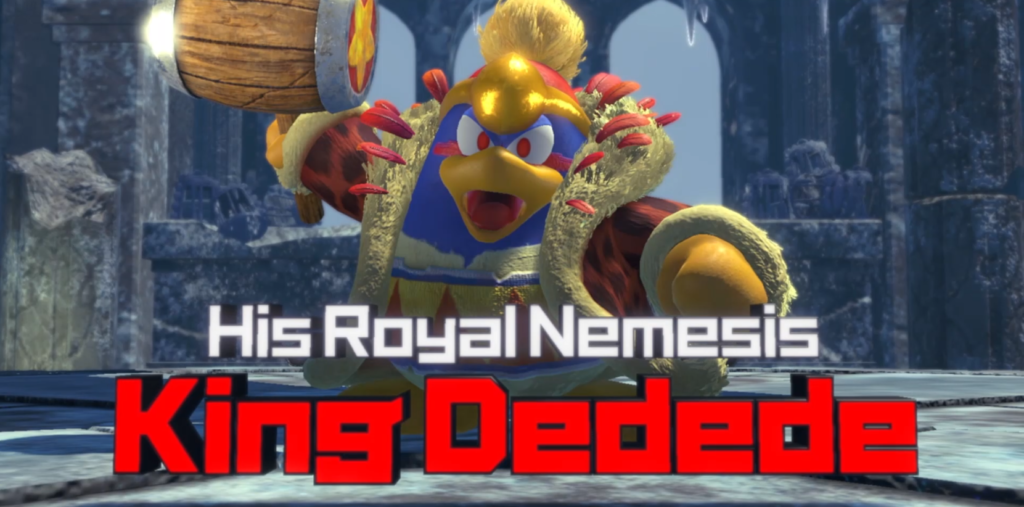
Good ol’ King Dedede makes his triumphant return as the… FOURTH BOSS?! Wow. I didn’t expect that. The first time I played this stage, I honestly thought the game was almost over. Thankfully, that is not the case, and King Dedede is a pretty straight forward boss battle.
Since this is not such a specific typing, the drill, cutter, and ice abilities all work great on Dedede. Honestly, just about any ability works well, as long as you play wisely. In the first phase, Dedede’s movements are pretty slow and predictable, so just be cautious and don’t take any unnecessary damage, attacking when openings are created (Especially when Dedede dives and lays on the ground for a moment).
In the second phase, Dedede grabs a giant pillar and uses it to create large shockwaves in the ground, so make sure you aren’t just dodging the pillar but also the “explosion” that happens around it. Dedede will also strike vertically and in circles during this phase, so just be prepared, dodge accordingly, and attack when the openings happen. Bravo! You beat the not final boss.
Sillydillo
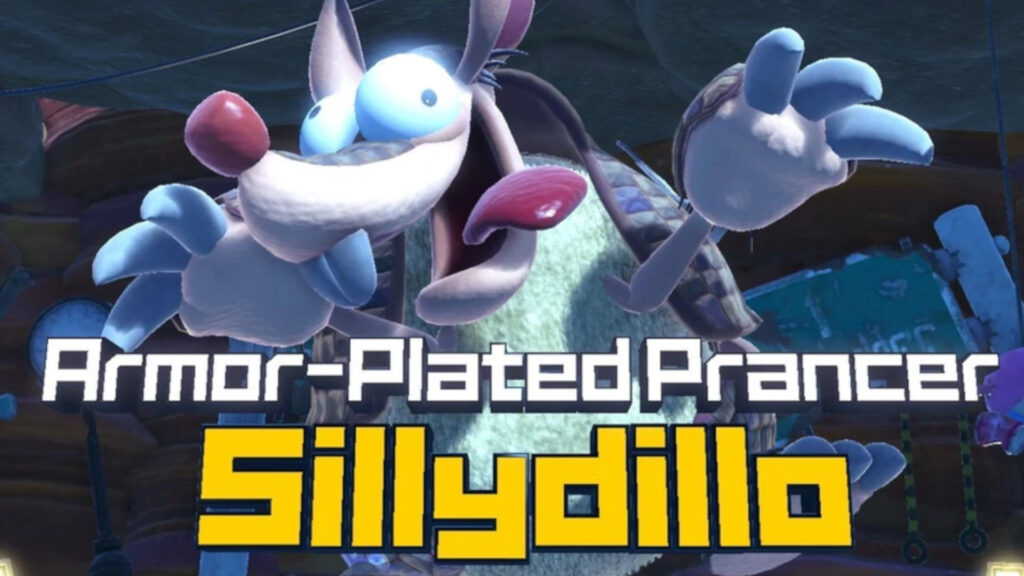
Sillydillo was actually the first boss that killed me, and I was shocked. This is not a tough boss fight, but it can be frustrating the first time around, as Sillydillo’s actions are seemingly unpredictable.
The hammer, needle, and bomb abilities all work great, especially upgraded versions of any of those. For the first phase, Sillydillo is just going to try and catch you in its cage, so anticipate that horizontal strike, jump over it, and attack. Create some distance and do it all again until you initiate phase 2.
In the second phase, Sillydillo will do a roll attack three times in a row, and this is a tough one to dodge. Just try to weave back and forth between rolls, as I found that to be the most effective way to dodge all three. Once it hits the third roll, it collapses, giving you ample time to strike. Repeat this until phase 3.
The final phase is Sillydilly pulling out a goofy looking manikin that it created, and it dances with it. Keep your distance during these points and strike when the opportunity is there. This phase will combine the 3 rolls with the dances, so it is a bit chaotic. Just be wise, use your guard when you need to, and attack at every open opportunity.
Forgo Dedede
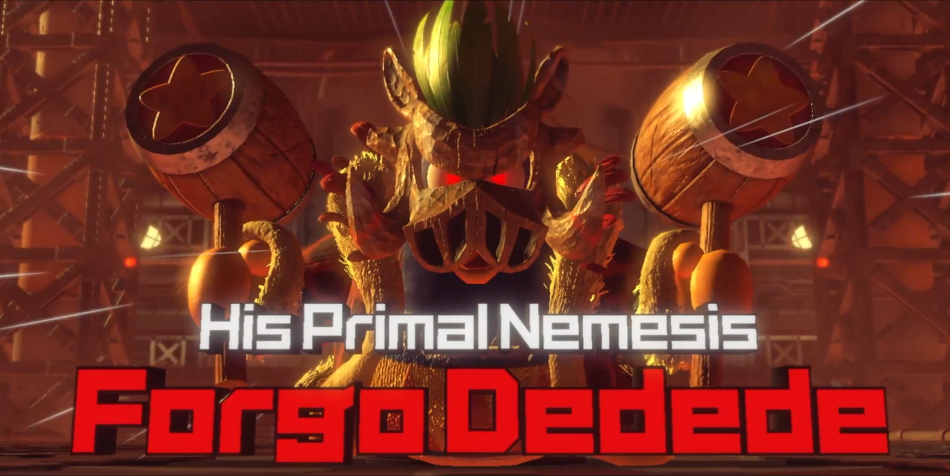
Well, it is Dedede Round 2, and this time the king has gotten a Forgo upgrade. This is not the same Dedede fight, as this one is much faster and more frantic than the previous one. Blizzard Ice, the second ice upgrade, is the absolute best for this fight, so if you do not have this upgrade yet, start doing some treasure roads and pile up on rare stones.
The first part of the fight is Dedede hammering wildly in a couple different patterns, but if you have Blizzard Ice, this can slow Dedede down and it also packs a heavy punch. Keep blowing ice on the king and ice guard when you need to. Once you “kill” Forgo Dedede, the king goes crazy and regenerates, beginning round 2.
In this phase, Dedede begins by running around on all fours, so just focus on blowing ice on the king in hopes of freezing it. It will do some charge attacks, and you can either try to dodge it or guard, but on the third charge, it will lay flat for a moment. Blast the ice until Dedede gets up. There is another attack where Dedede punches the ground creating homing fireballs, and you can either float above them or guard. This shouldn’t take too long, but just be sure to guard and keep blasting as often as you can.
Leongar

We are getting towards the end game here, so it is beyond recommended to have upgraded abilities, particularly Dragon Fire and Blizzard Ice. Leongar will initially throw some minions at you before he walks himself onto the stage for the real showdown.
In the first phase of this fight, some of Leongar’s attacks feel like upgraded versions of Gorimondo. Using either Dragon Fire or Blizzard Ice, just keep hammering on Leongar until he shows he’s about to claw attack. Guard roll, jump, or run between the legs are all solid options, and then keep attacking. When it charges back, get out of the way, because this upward strike does major damage. Simply avoid getting near Leongar during this, and continue to burn or freeze.
The second phase is much tougher, as Leongar will throw V and X-shaped projectiles that you have to avoid, as well as a charging biting attack. The most devastating is the giant mouth-laser that is slow but large and painful. Just keep dodging, take your time, and try to get a “freeze” or “burn” on Leongar for that extra damage.
Fecto Forgo

So… we get to this boss fight. This one of the most disgusting yet entertaining bosses in the entire game, as it combines both an escape sequence and a boss fight together. Once again, Dragon Breath or Blizzard Ice are your go-tos here for Fecto Forgo, the gross blob of random things.
In the beginning, just keep running away from Fecto Forgo until it stops. At this point, it will charge at you, and you need to avoid its face. You can see which direction it will go based on how it positions itself, so when you dodge, fire or freeze away! Dragon’s Breath, particularly, leaves a ongoing burn that continues to damage even when you aren’t able to attack, making it the most ideal for this fight.
This is not a tough fight, but it is a fun and dramatic one. Just continue to keep your distance, running away from Fecto Forgot, until it charges. Dodge, attack, and continue to do this until it goes down.
Fecto Elfilis

This is the story’s ending sequence, so let’s just say that Fecto Elfilis is tough. It bears repeating, but Dragon Breath or Blizzard Ice. For this fight, I prefer Blizzard Ice, as freezing Fecto Elfilis is super-helpful.
The first phase sees Fecto Elfilis shooting arrowed projectiles from far away. Dodge or guard until it grounds itself. From there, freeze or burn as best you can, avoiding its strikes. The ground strikes usually come in pairs, so be aware of that and attack accordingly. Freezing will give you more time to attack while Fecto Elfilis cannot move. At some point, Fecto Elfilis may do a dashing strike, so simply guard for that one. It also strikes its staff into a purple portal that strikes large amounts of area, so I also advice guarding during these moments to protect yourself. Take your time and do that chip damage until you initiate phase 2.
In the second phase, Fecto Elfilis returns to the sky and rips a hole which throws meteors your way. Dodge them all until the giant one comes, and then guard with all of your life. Fecto Elfilis will then do some intense dash strikes from the sky until it gets stuck on the third one. Avoid or guard until the third one, and then attack heavily. There is another thing Fecto Elfilis does where it splits into three of itself trying to heel. Find the one that the closing ring is focused on and attack nonstop. From there, it should repeat previous attacks. Keep chipping away until it is almost finished…
But that’s not the end! You have to Mouthful the back of Fecto Elfilis and pull Elfilin out by force. Move the joystick like crazy, and this will initiate the end of the battle.
Chaos Elfilis
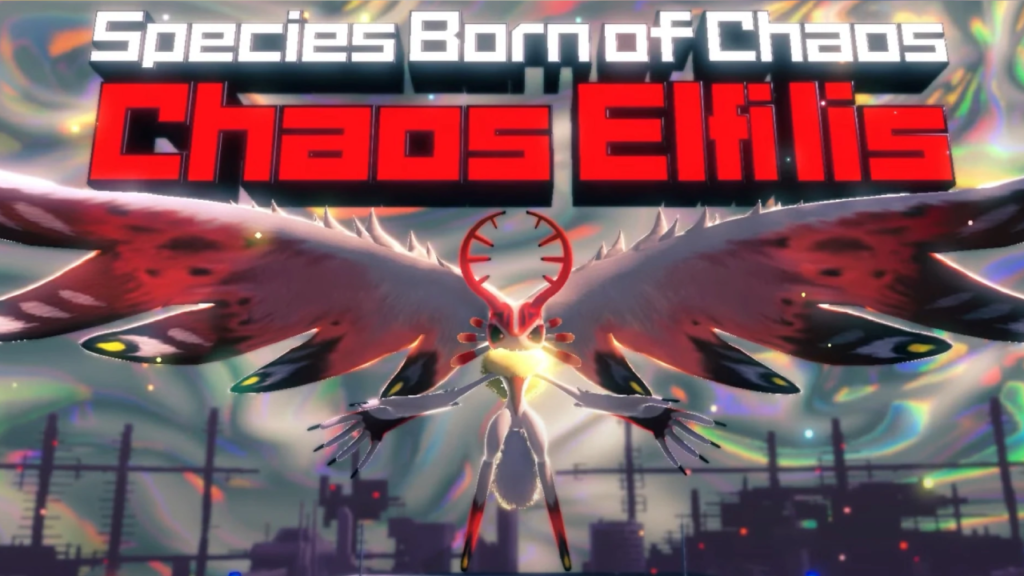
After the credits, there is a whole new story of sorts that enhance all of the previous bosses, giving them “Phantom” abilities. Every single one of them follow very similar patterns with some minor changes, and the effective abilities are still the same. The only exception is Morpho Knight which is basically Meta Knight (Which is covered next) and Phantom Meta Knight, but once you learn the strategies for Meta Knight, those two should be a problem.
Chaos Elfilis follows very similarly to Fecto Elfilis, but this time around the best ability is absolutely the Morpho Knight Sword, the final sword upgrade (You get this blueprint after defeating Morpho Knight). This time around, the attacks are much faster and a bit more… chaotic. Guard during the dashes and use the charged sword attack when you have a chance, as it does insane damage against Chaos Elfilis.
The second phase this time around is quite different, as Chaos Elfilis presents a giant shadow form of itself mimicking its attacks onto the stage. The giant one will be sweeping the stage while the real one is throwing projectiles, so all you can do here is guard, dodge, and pray. There is not a whole lot more advice I can give here but to play wisely, take your time, and attack when you can. This is more about chip damage and preserving your health more than anything.
The ending sequence repeats itself, but instead of pulling Elfilin out this time, you are removing the chaos. Enter Mouthful Mode, move the joystick like crazy, and save the world…
I mean, nevermind. It is time for the last phase against the chaos. The attacks continue to be chaotic here, but they are manageable. Try to get under the giant ball and attack as much as you can until it moves away. Dodge and guard accordingly until it initiates the second phase of this fight where it starts throwing giant rocks at you. Avoid the shadows being cast, and when the piles of rocks land, make your way to the highest point to avoid a massive attack.
Once it grounds itself again, continue to chip away damage while avoiding the onslaught of attacks. For this fight, I highly recommend bringing some snacks to replenish health, because this boss fight will challenge you patience tremendously. I honestly still cannot believe that a boss of this caliber is in a Kirby game.
Meta Knight

The special fight in the Waddle Dee Town Coliseum is none other than Meta Knight! Once you unlock the coliseum in the game, Meta Knight makes a short appearance to give you a quick reminder that the lone swordsman is actually in the game. Not as a main boss, however, but as a competitor in the coliseum.
The best ability by a long shot is the sword ability, particularly the Gigant Sword (the first upgrade). You want to get your combos in and keep an ear out for Meta Knight’s cues for when it is about to strike. At that time, make sure you guard, and then go back on the offensive.
When Meta Knight goes into its second phase, it will fly off into the distance and start throwing giant rock formations at you. Thankfully, the camera pans up and Kirby just needs to position itself outside the shadows. Once Meta Knight finishes this attack, it returns to the ground and tries to distance itself from Kirby while throwing projectiles. Just make sure you continue to guard until you have an opening, and before long, Meta Knight will go down, unlocking a new sword blueprint as well.
This fight kind of repeats itself in the form of Morpho Knight and Phantom Meta Knight. For those two fights, sword or hammer abilities are best, but the patterns are mostly the same.
Thank you for stopping by Nintendo Link for all of your gaming news and updates! What do you think of this guide for the new Kirby game on Switch? Was it helpful? Let us know in the comments below! Happy gaming, everyone.


